
I remember the first makeup brush I ever picked up. I was about four years old, and I was messing around in my grandmother's handbag when I came across her eyebrow pencil pouch. Being a little bad ass, I dumped all of her pencils all over the place when a small compact version of a blusher brush fell out. I would play with that thing for hours pretending to put makeup on. Little did I know that would be the beginning of an obsession that I am not ashamed of having. It wasn't until I became a makeup artist at a local cosmetics store that I was able to learn the proper techniques for using makeup tools. In this installment I will share the basic 101 on makeup tools along with pro worthy tips that will help unleash your inner makeup artist.
The Face Set
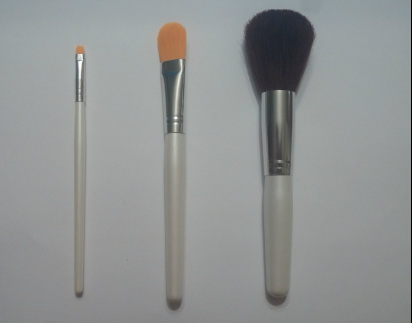 | From left to right:
|
These brushes literally set the stage for creating any look, because they help smooth overall skin texture while evening out skin tone.

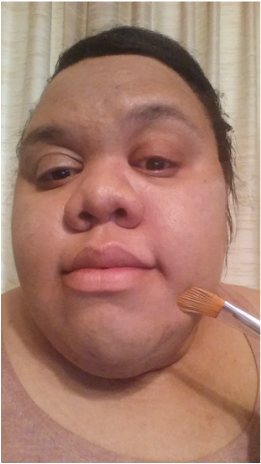
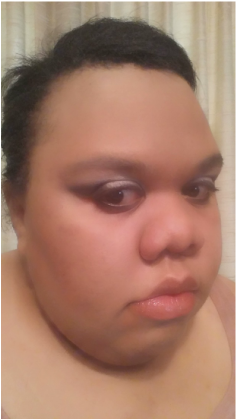
I'm beginning with a cleansed, and primer set face. Primer is perfect for smoothing out skin texture as well as helping the makeup to last longer.
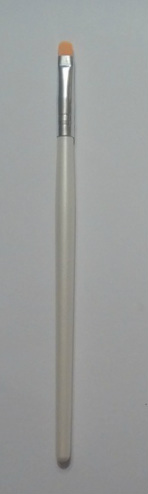 |  |
Concealer Brush - This one looks similar to the Foundation Brush, but to a much smaller scale. It can be used to apply and blend concealer. I love to use it for those unexpected (and highly uninvited ) blemishes.
Tip: Concealer doesn't just blur imperfections, it highlights too. Simply apply concealer in an inverse triangle underneath eyes; then using the concealer brush gently blend along the edges.
Tip: Concealer doesn't just blur imperfections, it highlights too. Simply apply concealer in an inverse triangle underneath eyes; then using the concealer brush gently blend along the edges.
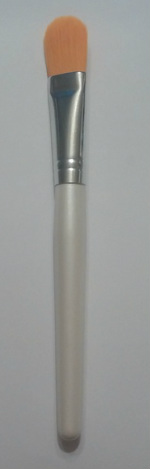 |  |
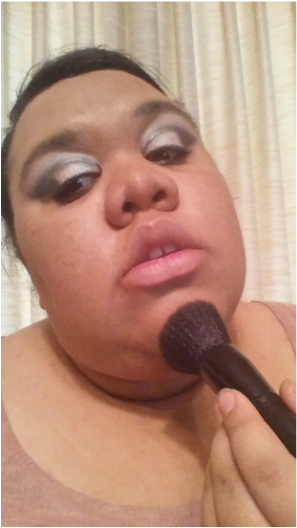
Liquid Foundation Brush - This brush has a flat, smooth and slightly stiffer set of bristles. This is perfect for applying both cream & liquid foundations. I also find it useful for applying my BB creams as well as blending concealer.
Tip: To create even coverage, use light sweeping strokes across the entire face using the liquid foundation brush. For a seamless coverage use light sweeps along the hairline, ears, and decolletage (neck and collar bone) area.
Tip: To create even coverage, use light sweeping strokes across the entire face using the liquid foundation brush. For a seamless coverage use light sweeps along the hairline, ears, and decolletage (neck and collar bone) area.
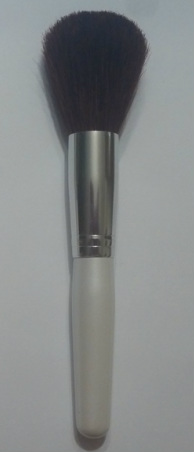 |  |
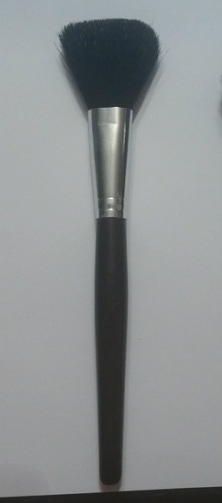
Powder /Face Brush - Usually the largest brush in the set. Great for powder foundation & setting powder application.
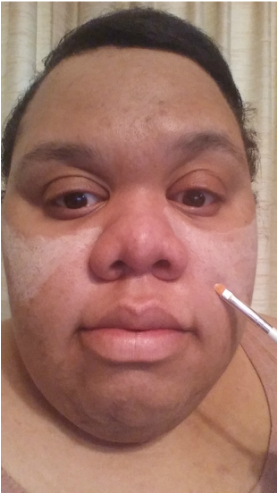
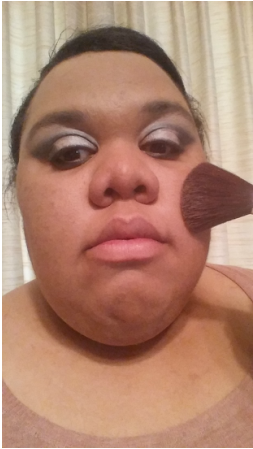
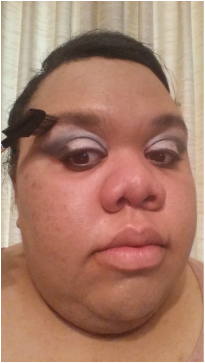
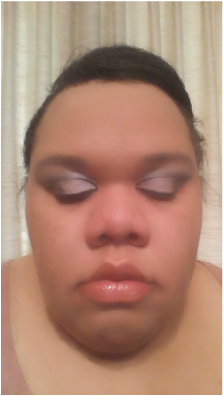
Tip: I'm using my very last photo to the setting technique using the Powder/Face Brush. Once all other makeup has been applied Lightly sweep a small amount of mattifying or setting powder to the face. This will seal the makeup, and create a flawless even look.
Tip: I'm using my very last photo to the setting technique using the Powder/Face Brush. Once all other makeup has been applied Lightly sweep a small amount of mattifying or setting powder to the face. This will seal the makeup, and create a flawless even look.
The Eye Set
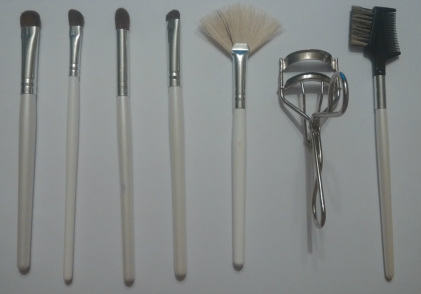 | From left to right:
|
Though they may seem like a lot, these brushes are very quick and easy to use.
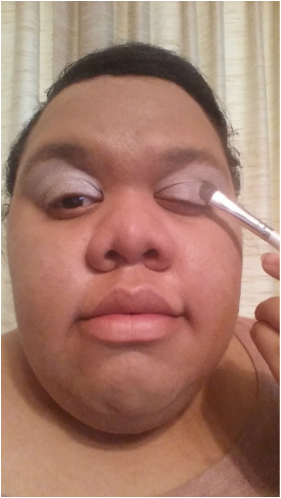 | 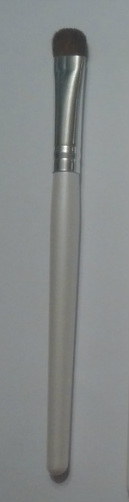 |
Eyeshadow Brush - A wide and slightly rounded tip allows for smooth application of eyeshadow all over the entire lid or eye.
 | 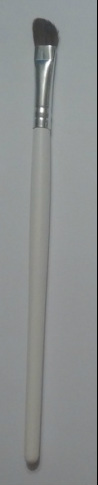 |
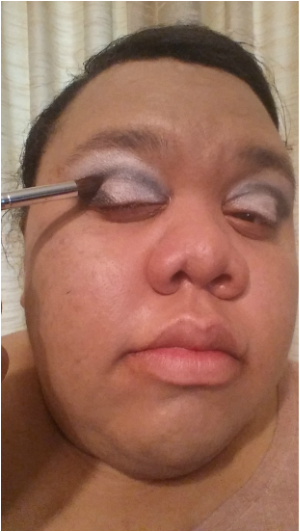
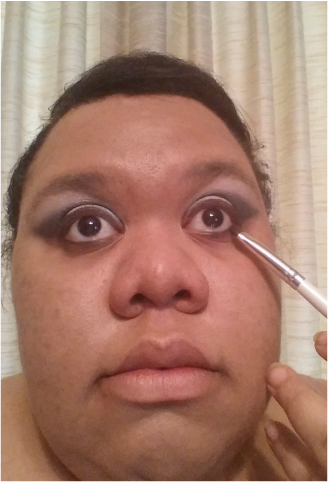
Angled Shadow Brush - Small and slanted, this brush can be used to apply definer (darkest shade) shadow to eyes.
Tip: When applying defining color, start on the outer corner of the lid, and brush color along the crease as well as the edges of the lid.
Tip: When applying defining color, start on the outer corner of the lid, and brush color along the crease as well as the edges of the lid.
 |  |
Rounded /Blender Brush - With slightly longer and softer bristles; this shadow brush is best used for blending layered shadow colors to create a seamless look.
Tip: Lightly buffing color layers together will create a more smokey and dramatic look.
Tip: Lightly buffing color layers together will create a more smokey and dramatic look.
 |  |
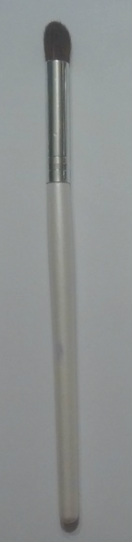
Smudger Brush - Look similar to the eyeshadow brush, but has much smaller bristles. This is helpful in smudging eyeliner on the waterline creating a smolder look.
Tip: Most eyeliners including cream based ones , may be a bit difficult to manipulate even with the smudger. Lightly wetting the tip of the smudger will help eyeliner to spread easier.
Tip: Most eyeliners including cream based ones , may be a bit difficult to manipulate even with the smudger. Lightly wetting the tip of the smudger will help eyeliner to spread easier.
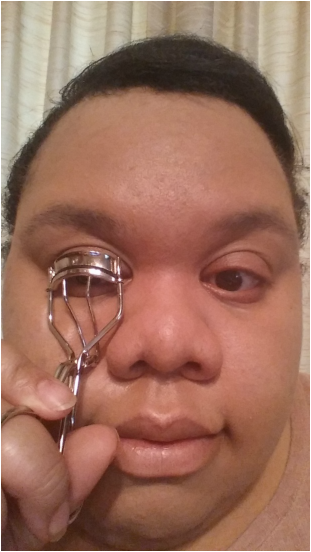 | 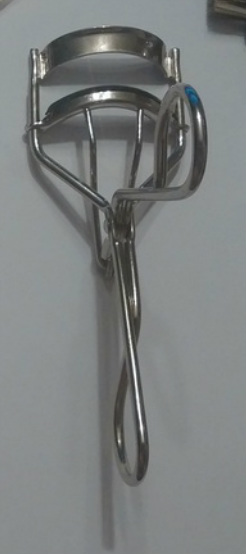 |
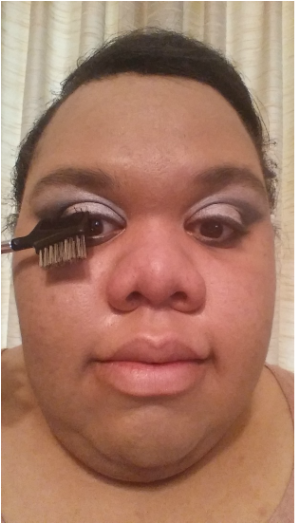
Eyelash Curler - For those of us ladies who's lashes don't curl naturally, (I am one of those), this is a handy tool to have. A few presses before applying mascara will ensure a lovely curl.
Tip: Start off by curling close to the lid as possible then slowly move out to the end of the lashes for more uniform curls.
Tip: Start off by curling close to the lid as possible then slowly move out to the end of the lashes for more uniform curls.
 |  | 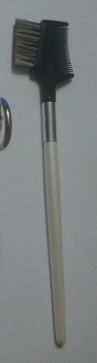 |
Brow & Comb Combo - One side lash comb; the other side brow brush.
Tip: To optimize the separation of your lashes, gently comb lashes a few seconds after applying mascara.
Tip: To optimize the separation of your lashes, gently comb lashes a few seconds after applying mascara.
The Cheek Set
 Define, and contour your cheekbones easily. | From left to right:
|
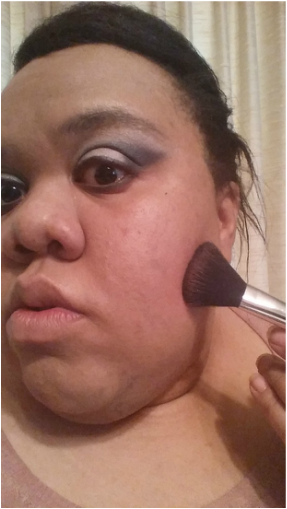 |  |
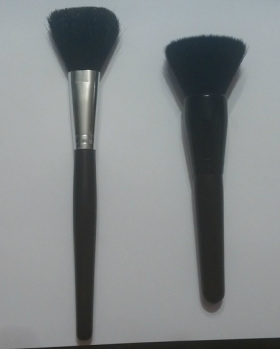
Blush/Blusher Brush - Usually slimmer than the Powder/Foundation Brush which helps to contour and enhance the cheekbones.
Tip: There are several ways of applying cheek color, but I prefer to sweep a light dusting just underneath the apples of the cheeks. For a little more softness gently blend with fingertips.
Tip: There are several ways of applying cheek color, but I prefer to sweep a light dusting just underneath the apples of the cheeks. For a little more softness gently blend with fingertips.
 | 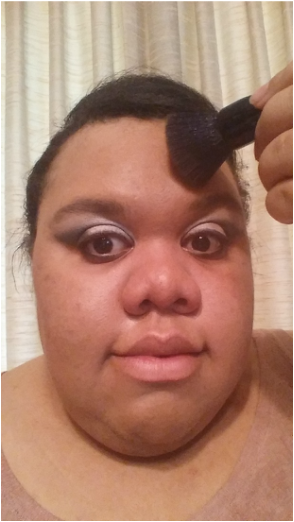 | 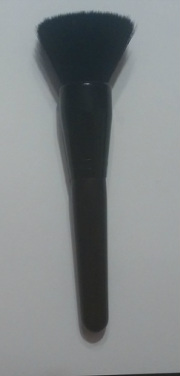 |
Flat Top Powder/Bronzer Brush - Has shorter bristles than a regular powder brush with an even and flat tip. Can be used for foundation powder, but is primarily used for bronzing or highlighting powder applications.
Tip: A natural sun-kissed glow is very easy to achieve. Sweep bronzer along areas of the face where the natural light hits (i.e forehead, bridge of nose, and cheeks. Finish by sealing with a mattifying face powder for a more airbrushed look.
Tip: A natural sun-kissed glow is very easy to achieve. Sweep bronzer along areas of the face where the natural light hits (i.e forehead, bridge of nose, and cheeks. Finish by sealing with a mattifying face powder for a more airbrushed look.
So there you have it! Whether your a beginner or seasoned makeup pro, becoming more familiar with your makeup tools will ensure that all heads will turn the next time you step out. Until next time stay fabulous!!!
 |  |  |
Brushes by e.l.f available at Target
Photos taken by Mekaile Renee' Turner
M. Renee's Closet © 2014
Photos taken by Mekaile Renee' Turner
M. Renee's Closet © 2014


 RSS Feed
